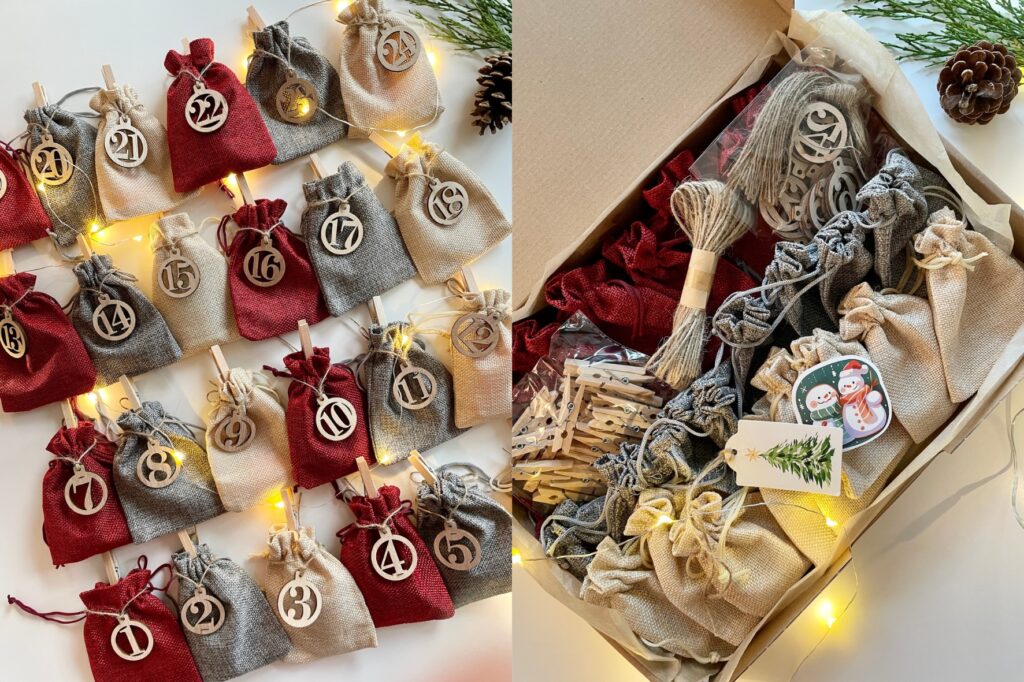
Looking for inspiration? Here are some ideas and projects you can create using the clay and supplies included in your Clay Advent Calendar.
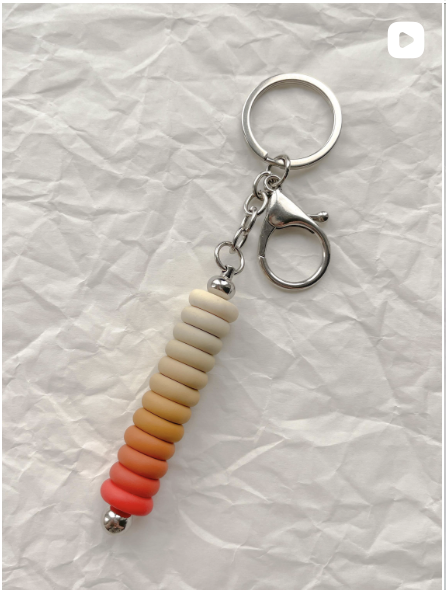
Beaded keychain
Here’s how to do it:
I started by picking my base colors — Cernit clay in champagne, sahara, yellow ocher, and poppy red. They sit next to each other on the color wheel, which makes them blend beautifully into a smooth gradient.
I rolled the clay into thin sheets, placed them in color order, and began mixing small sections — first half and half to test the transitions, then adding a bit more or less of each color as I went. Slowly, the gradient came to life, shifting from soft champagne to warm poppy red.
Once the shades were ready, I cut equal parts of each, rolled them in a bead and I flattened the clay using depth guides so all my beads would be the same thickness. Then into the oven they went! After cooling, I drilled little holes, threaded them onto the keychain rod, and ta-da — done!
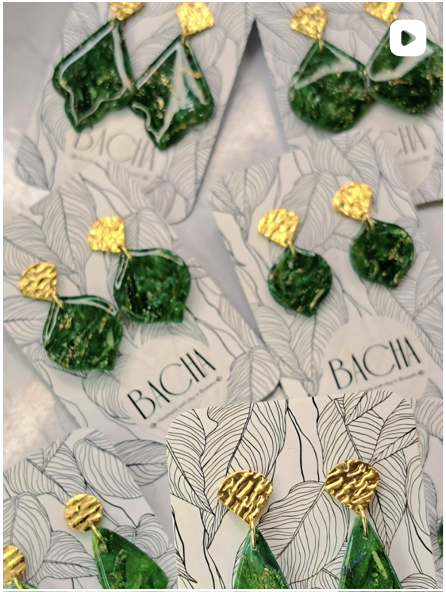
To create pieces with a beautiful sense of depth and a thousand tiny details, I blended this silky, pearly powder with Cernit translucent clay (005) and Cernit “Emerald Green” alcohol ink (620).
I then added some scraps from a previous project that I’d been saving for a while: a translucent green clay with touches of gold metal leaf.
Next came a hint of Emerald glitter, a bit more gold leaf, and the mix was ready to be shaped into a surprising pattern that sparks the imagination.
Once baked and coated with resin, these pieces make you wonder from which unknown planet these strange green stones might have come.
To help all the micro-fragments bind together, I used Cernit Gel, which works as a glue.
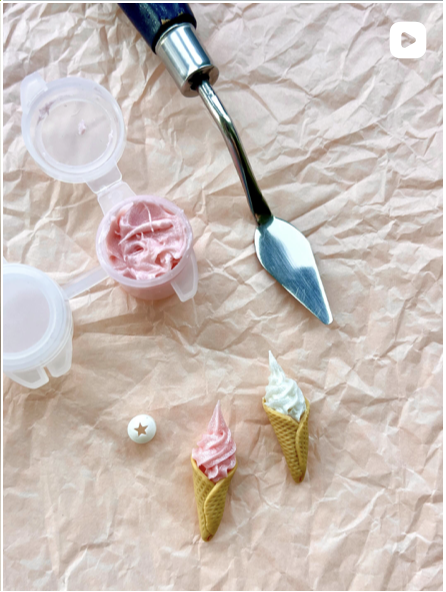
Step 1: Create the cone Start by choosing a beige or light brown clay color. Roll it out into a thin sheet. To give it that classic waffle cone texture, I used the grip section of my needle tool — just press and gently roll it over the clay. Then, cut out a circular shape. To shape the cone, use the tip of a pencil dusted with cornstarch to prevent sticking. Wrap the clay circle around the pencil until the edges overlap, and press lightly to seal it. Carefully remove the pencil and bake the cone according to your clay’s instructions.
Step 2: Make the clay ice cream While the cones are baking, let’s prepare the clay ice cream. I soften my clay with a bit of Vaseline, mixing it in until I get a smooth, creamy consistency. It should be very soft — soft enough to go through the tiniest star nozzle you can find! Once the cones are baked and cooled, fill them partway with regular clay to create a base. This helps support the ice cream swirl and saves your softened clay. Load your soft clay into a syringe or piping tool, then pipe it onto the cone in small circular motions to create that classic swirl. Bake again—and that’s it! You’ve made the cutest little ice cream charm ever!
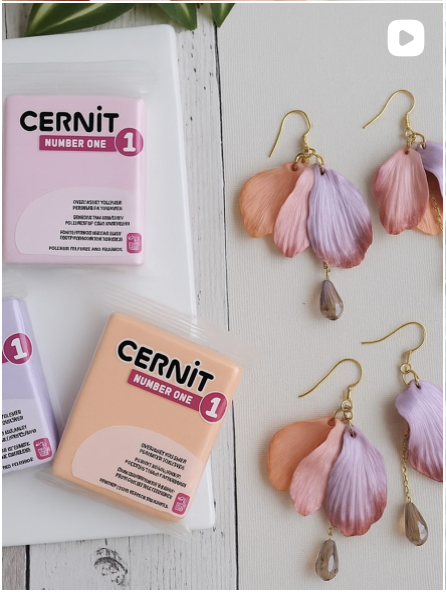
First, roll out your chosen clay colors into even sheets. Using a clay cutter or paper template, cut out organic petal shapes in three different colors or sizes (click here to see an example of using paper templates).
Next, place each cut-out shape between the two halves of the silicone mold and press them together firmly. Remove one side of the mold, then gently lift out the formed petal. Once all your petals are shaped, it’s time to bake them.
After baking, drill a small hole in each petal. Thread them onto the hoop, starting with the largest petal and finishing with the smallest.
I used Cernit Black Pearl polymer clay, textured Cernit Sand Beige Opaline, as well as some white clay with a floral transfer paper, to make some 2-pattern earrings.
The donut shape cutouts were cut symmetrically and re-paired up together to make some pretty contrasting styles.
Once the pieces are baked, apply a layer of UV resin or polymer clay varnish to add a protective layer to the pieces where the transfer paper was used.