I know how hard it can be to make social media content for your business, so I thought I share what has been working for me. Showing your clay work and getting sales starts with displaying your work in an interesting and captivating way, may it be through videos or photography. Quality reels or short videos are all about good lighting, recording angles, a clean background, and good editing. That’s all. So let’s go through each one.
Good Lighting
My current setup is far from fancy, but it’s working fine for me. My husband and I bought a few metal pieces that are just malleable enough to form an arc when attached together. We literally just walked around a hardware store testing and bending materials until we found the one. We then ordered a pair of universal C-clamps from Amazon and some LED lights. We saw something like this in a YouTube video and just made our own version.
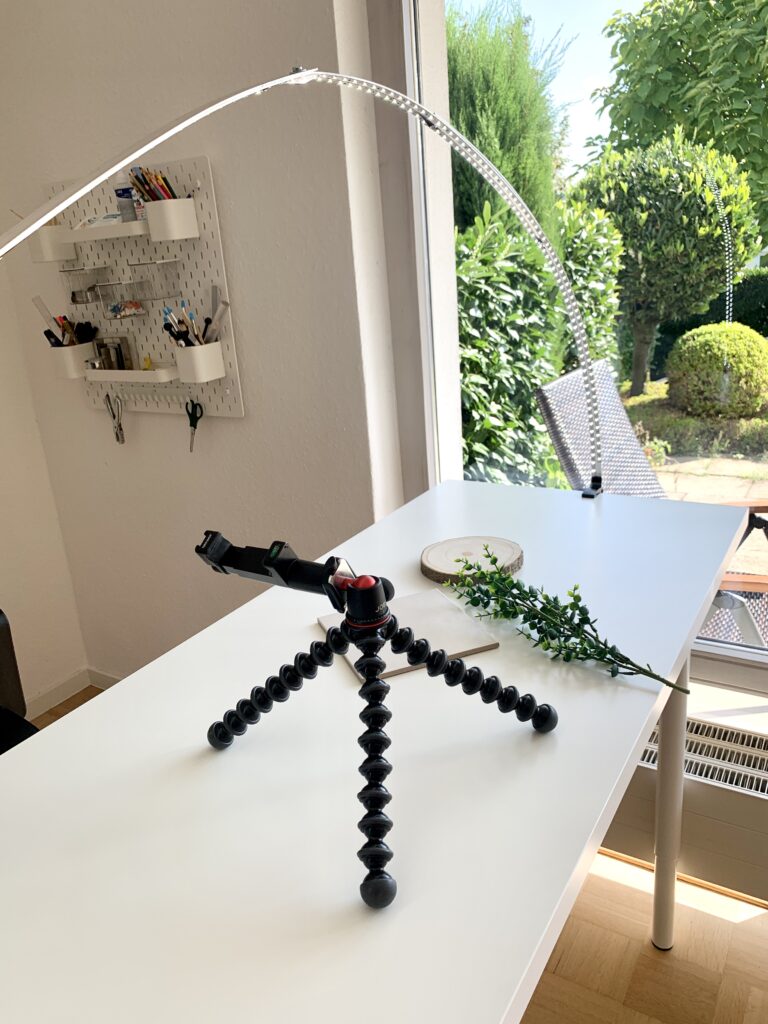
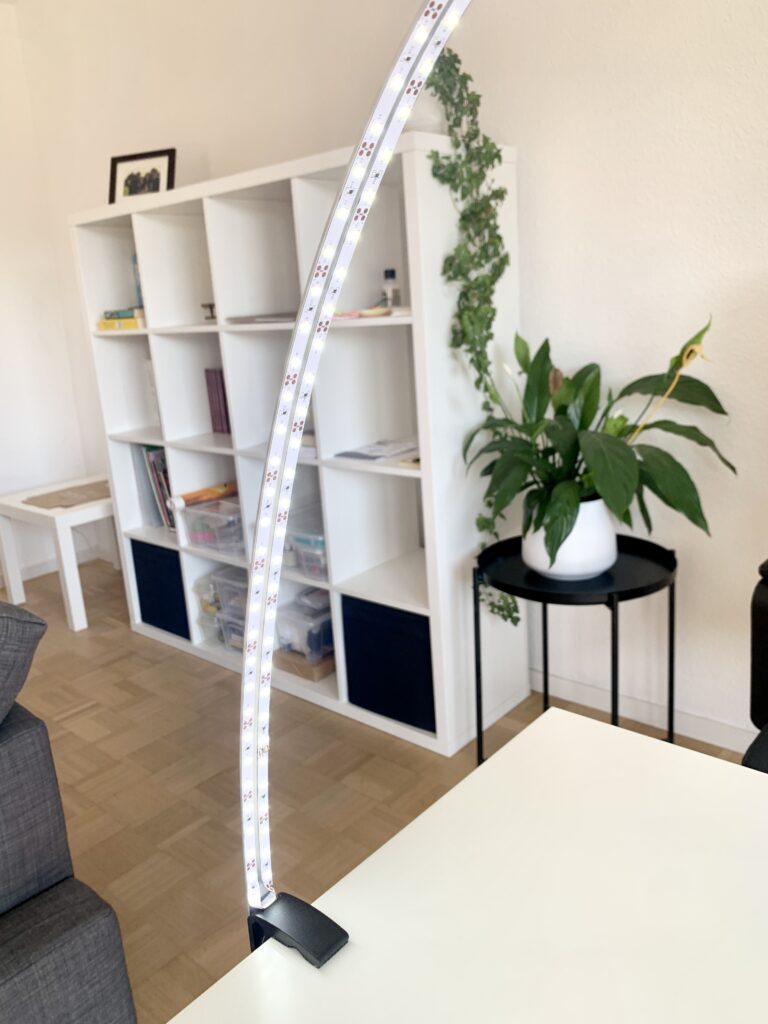
I keep my craft table directly by the window to get as much natural light as possible. Still, my videos end up a bit darker than I would like to have them, so I just edit the footage on my editing tool to get it a bit lighter (more about it below).
Recording Angles
If you go through the reels tab on IG and start scrolling through you will soon realise that the most attractive reels, the ones that capture your attention right away, have the main object at the center, taking most of the space (not a distant shot), and recorded from different angles.
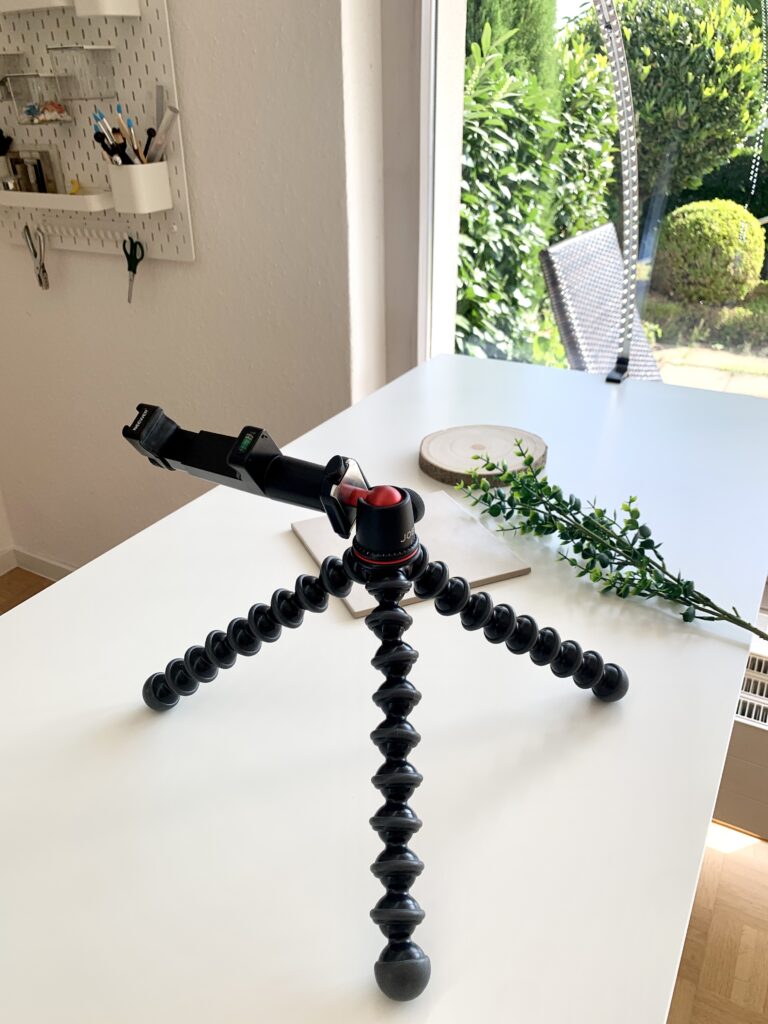
To keep things easy for me I don’t keep switching angles, especially when recording the making process. It’s hard enough to remember to record each step of the process, if I add to it the expectation of switching the camera around, I’ll be in big trouble. So here is what I do: I use my Gorilla tripod with a phone holder attached to it and simply set it as low as I can, so I can get a nice close shot of the process. I then tilt the phone holder so the takes are neither frontal nor from the top, but from an angle instead.
Clean Background
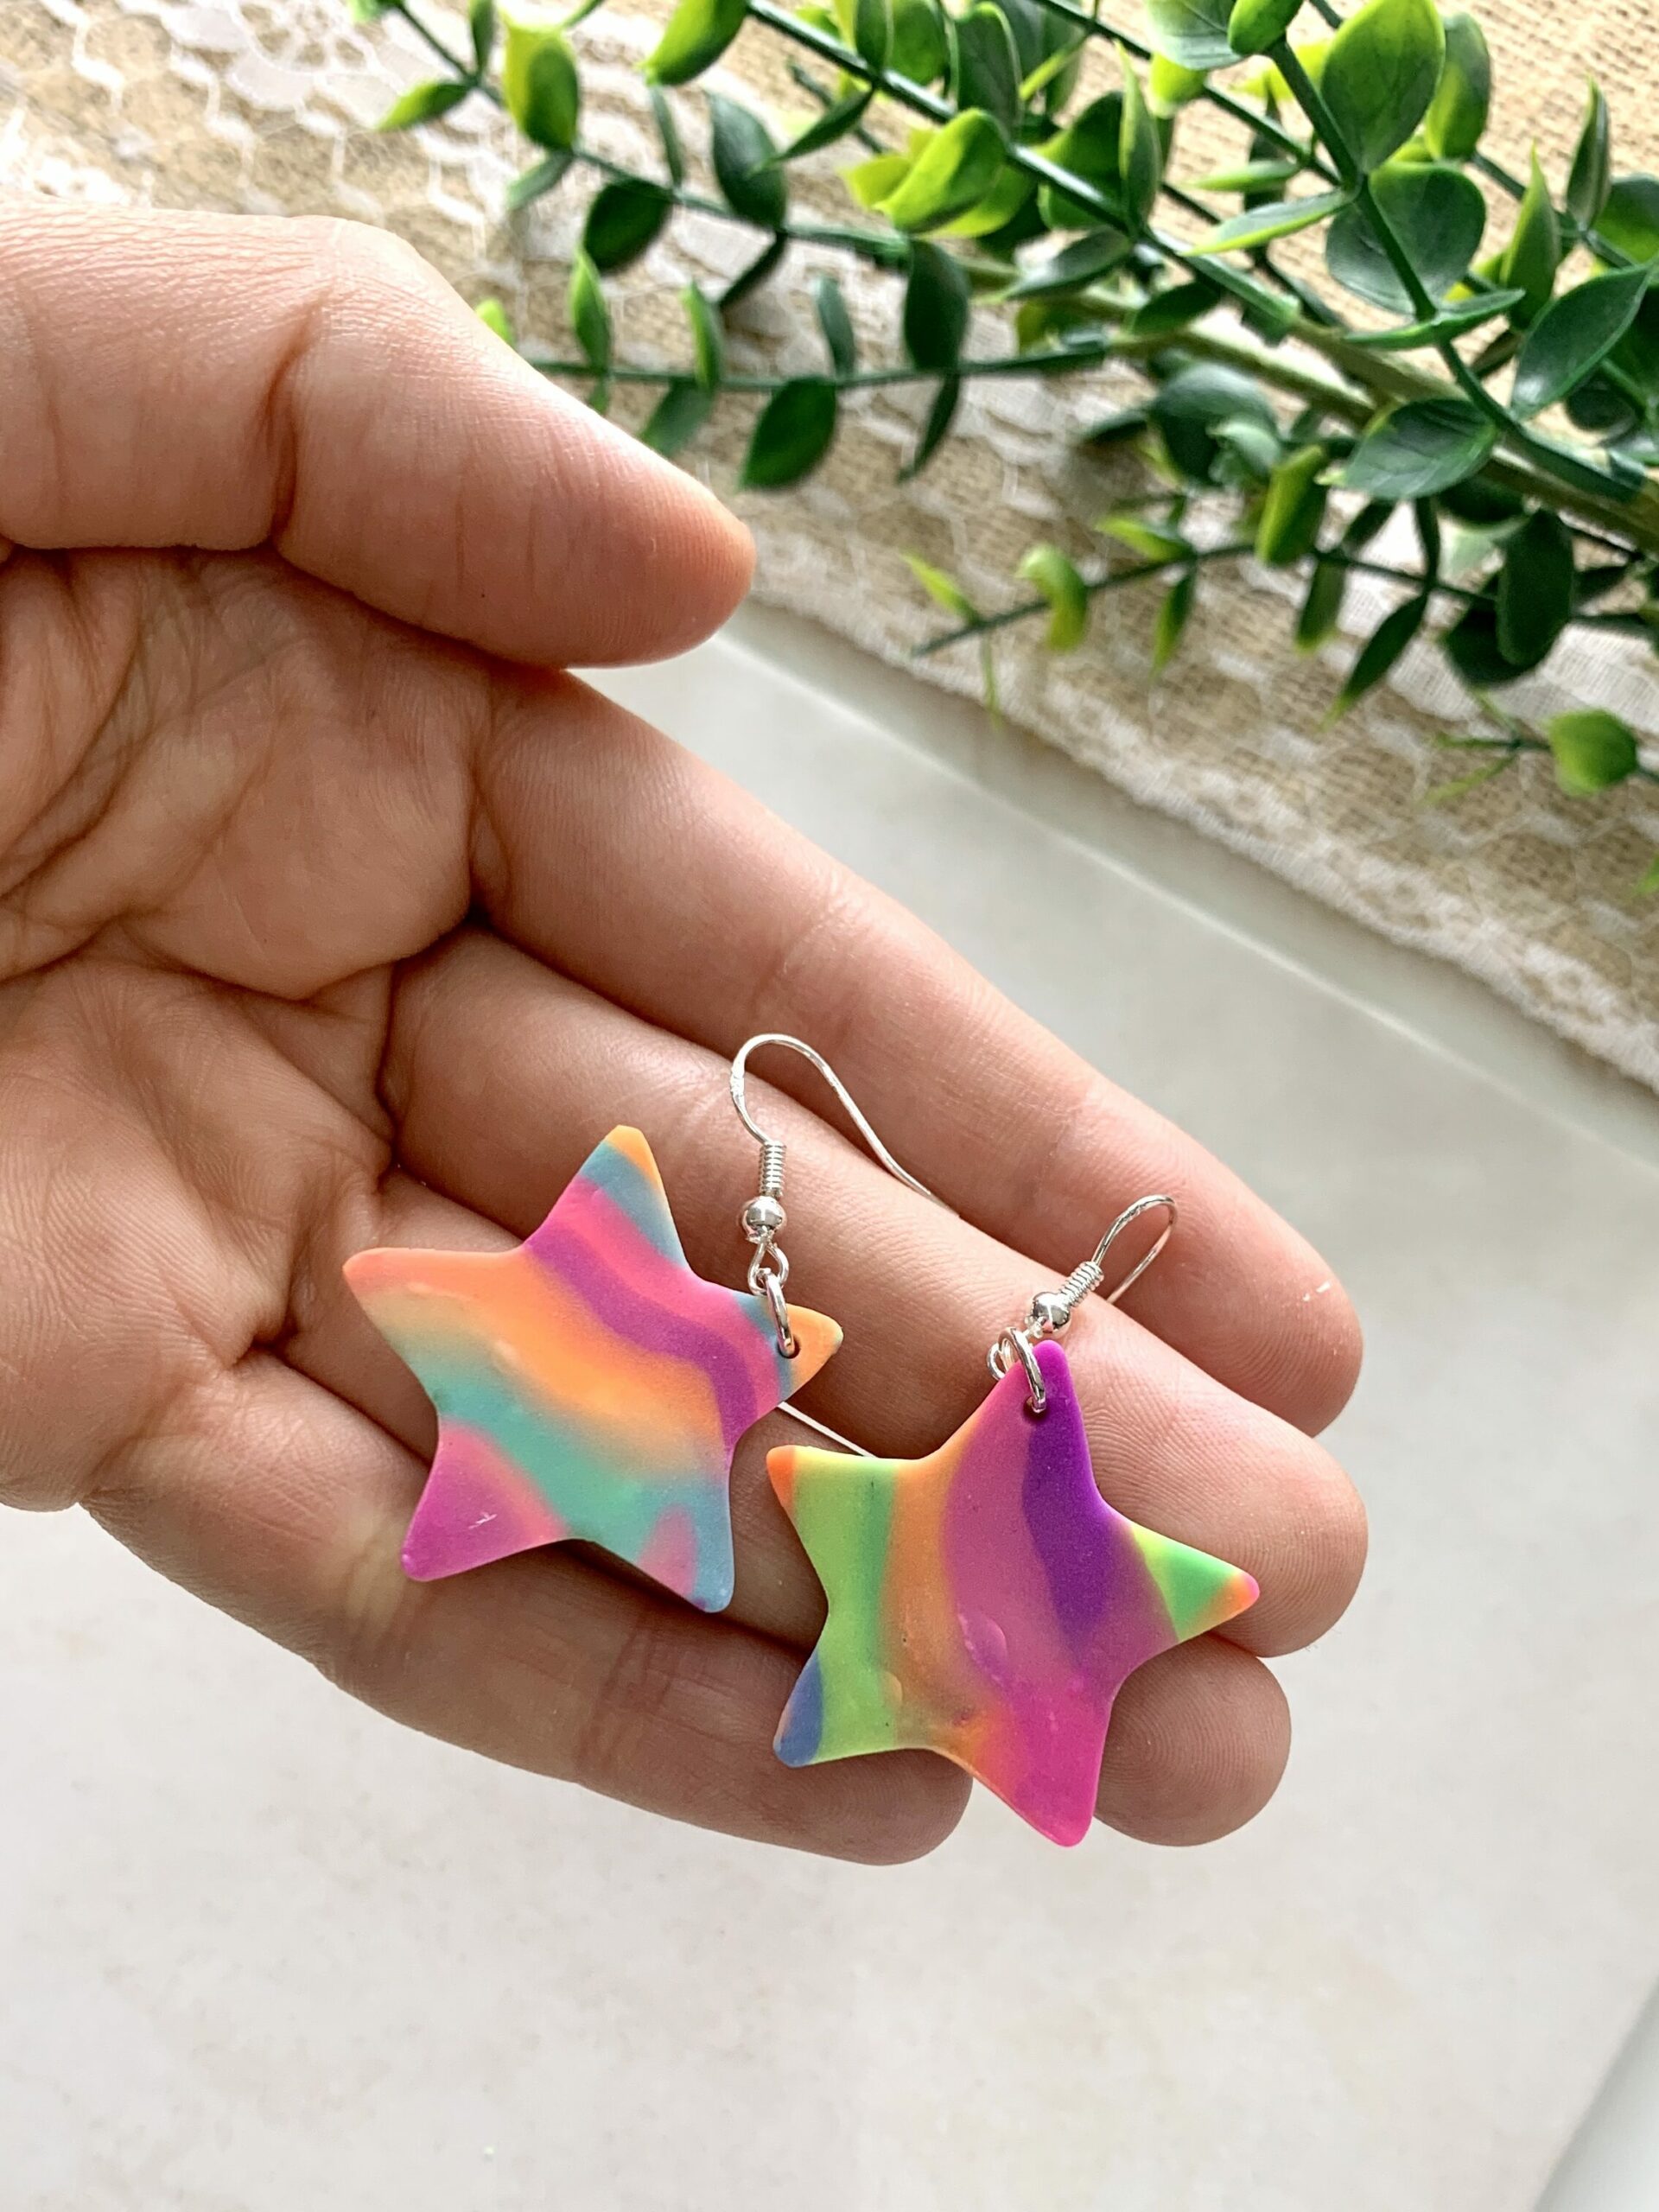
As you can see in the images below, I always try to keep my recording frame as clean as possible. If the surrounding area has too much clutter, viewers tend to get overwhelmed not being able to concentrate on what is important, and they just scroll away.
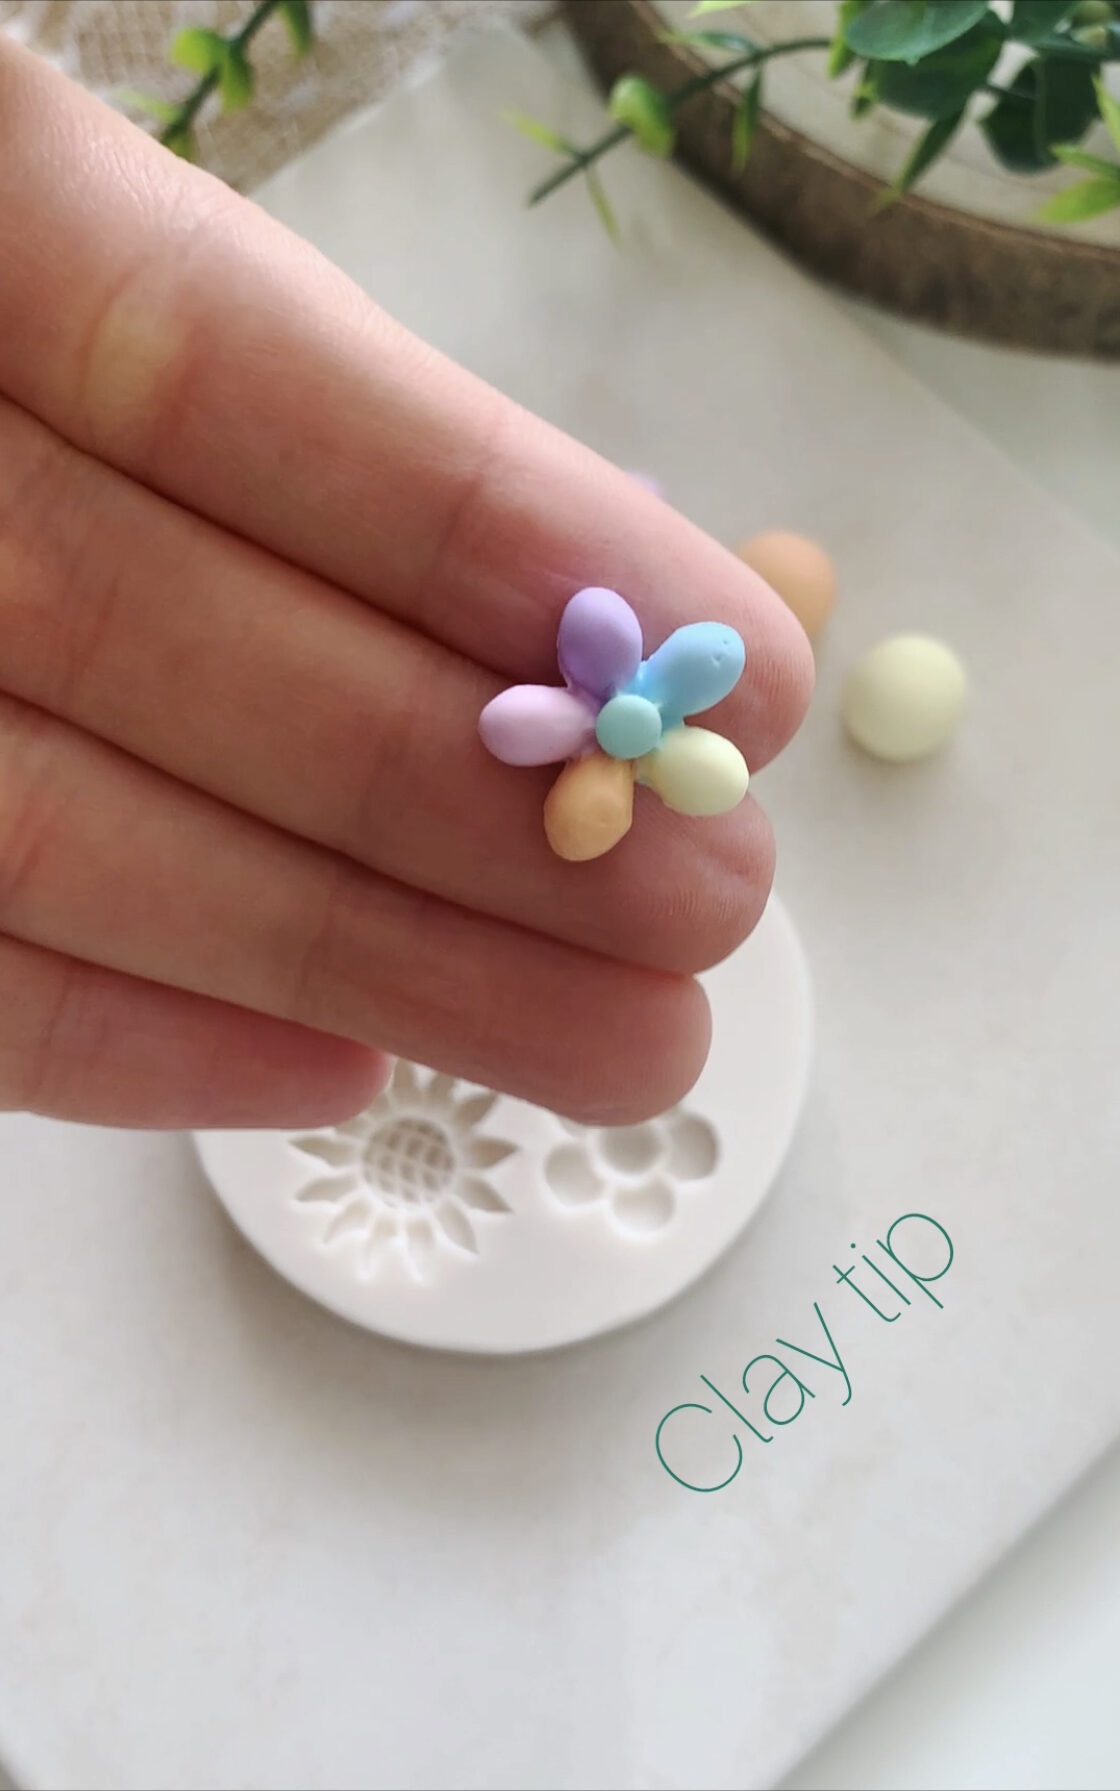
So here’s a tip: by recording from 45 degrees angle (instead of a frontal or top view) you can avoid showing the surrounding area of your workspace. Check the images below taken from some of my recent reels. You will notice that you cannot see the wall or even the rest of the table where I’m recording the shots. Trust me, there is way more stuff around that small area (my computer, a ton of tools, clay, and more), but you can only see what is important, which is the piece I’m creating.
Also, the one or two decorative pieces are optional, but if you go through the Instagram reels tab or scroll through TikTok you will see that most of the videos that are appealing to you will have some cute elements.
Good Editing
Last but not least, the final touches and editing process. I use an app called InShot, which can be used for free (but they will add their logo to the final file), or you can pay a monthly/yearly fee and have access to all the features and export the video without their logo. I went for the paid option since I post videos almost every day and it makes it easier for crossposting.
A quick tip on crossposting: using the same content for both Instagram and TikTok is always great, but you have to be careful not to download from one platform and then post on the other one with the logo or watermark. This affects the distribution of your video since each platform does not want to have the logo of their competitor in the videos being shown on the feed. Using an app like InShot (or any other editing app) allows you to create a master file that can be uploaded on all platforms.
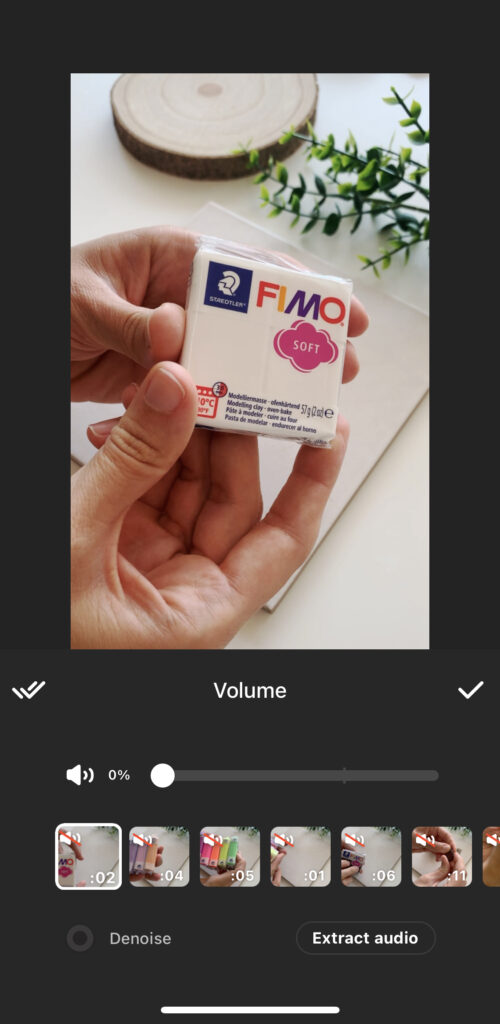
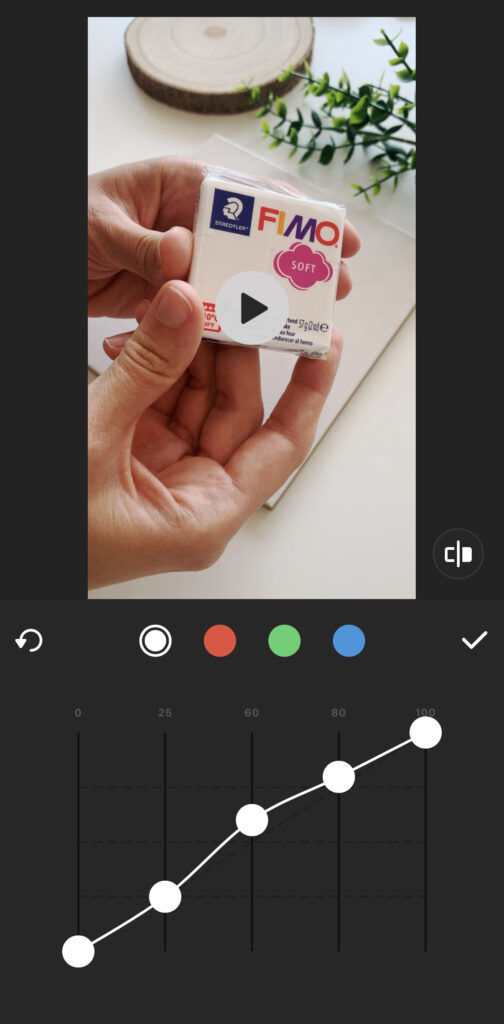
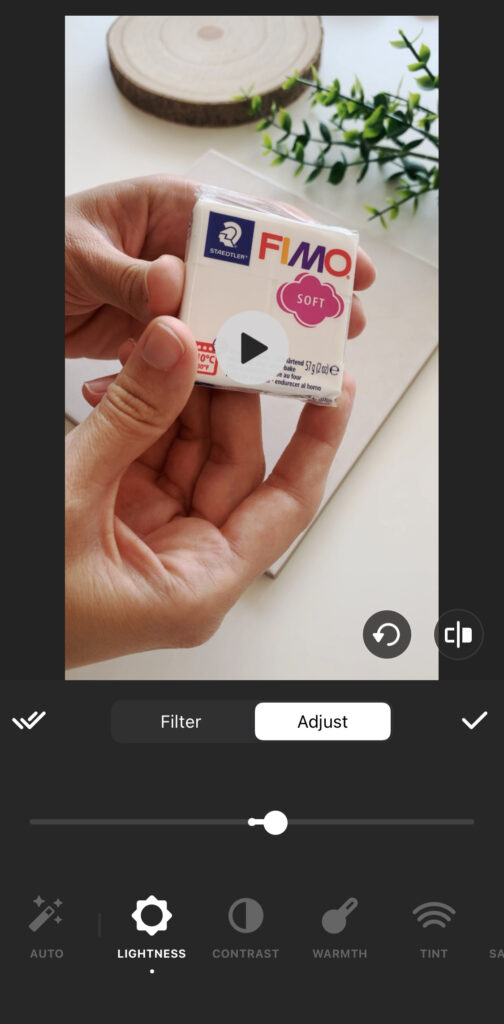
Now back to the editing process itself. Once I upload all the short videos to the app, I quickly remove all sounds, by clicking on “Volume” and then lowering the volume all the way to zero and applying it to all videos (use the double tick on the left). I then click on “Filters”, go to adjust and tinker with the curves (see image below). I then adjust the brightness and apply the setting to all videos (click on the double tick on the left).
Once my video is looking better I move on to cutting and trimming the footage. I usually speed up a bit when I want to show details on the piece (1.80 speed) and speed up even more if it’s showing the process (anything between 3.50 and 7.00 speed). You can see it in practice on my reels tab on Instagram.
The most important when editing is to get rid of everything unnecessary for the viewer to understand what you are trying to convey or show them. Keeping content short and straight to the point is a must nowadays and it improves your chances of retaining viewers.
Extra tip: show the final result or final piece in the beginning of the video so people are interested in seeing the process. This usually works as a great hook to keep people watching the video.
It’s Your Turn Now
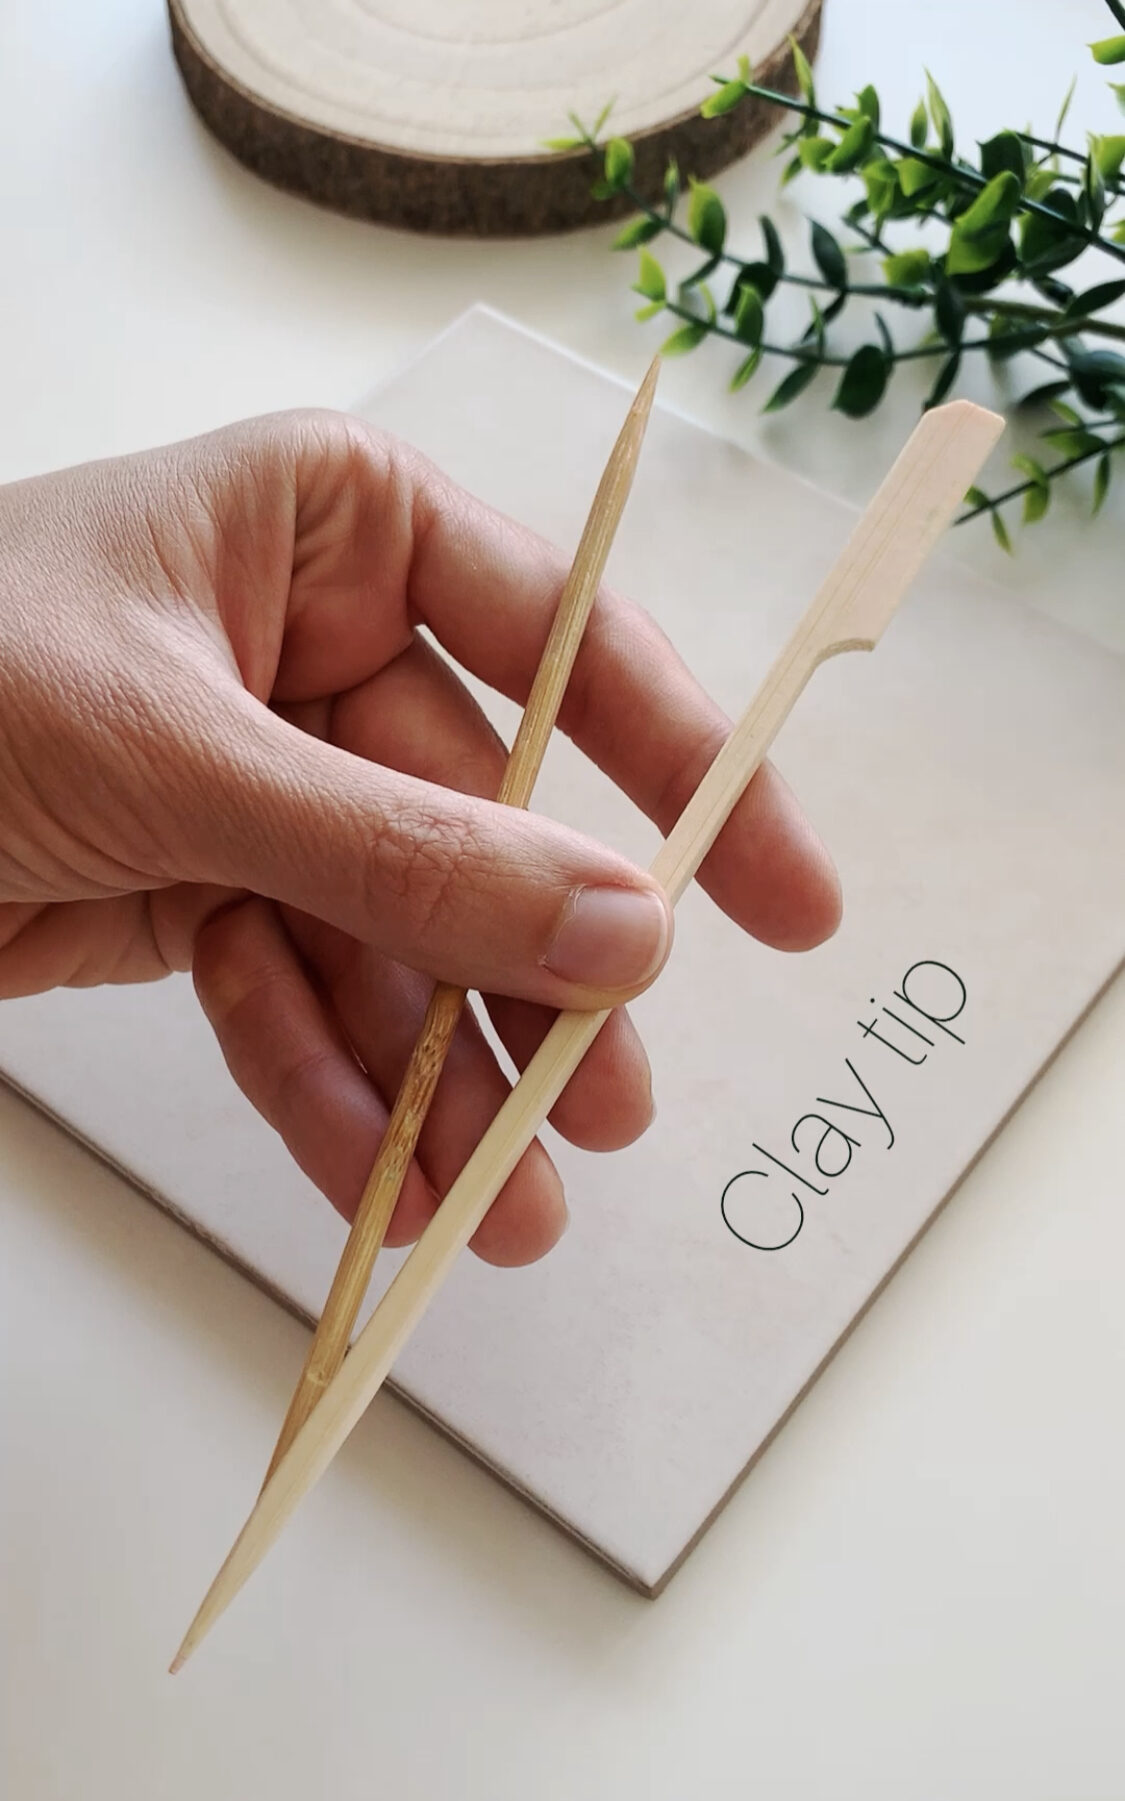
Now you know all the basics and can start playing around until you find the style, angle, and looks that work best for you. If you have a polymer clay tip or design idea captured in video, reach out to [email protected] so we can share it with other clay artists.